Evolution Tutorial
Evolution Tutorial
This short tutorial will show you how to configure Evolution for use with Lavabit.
Step One
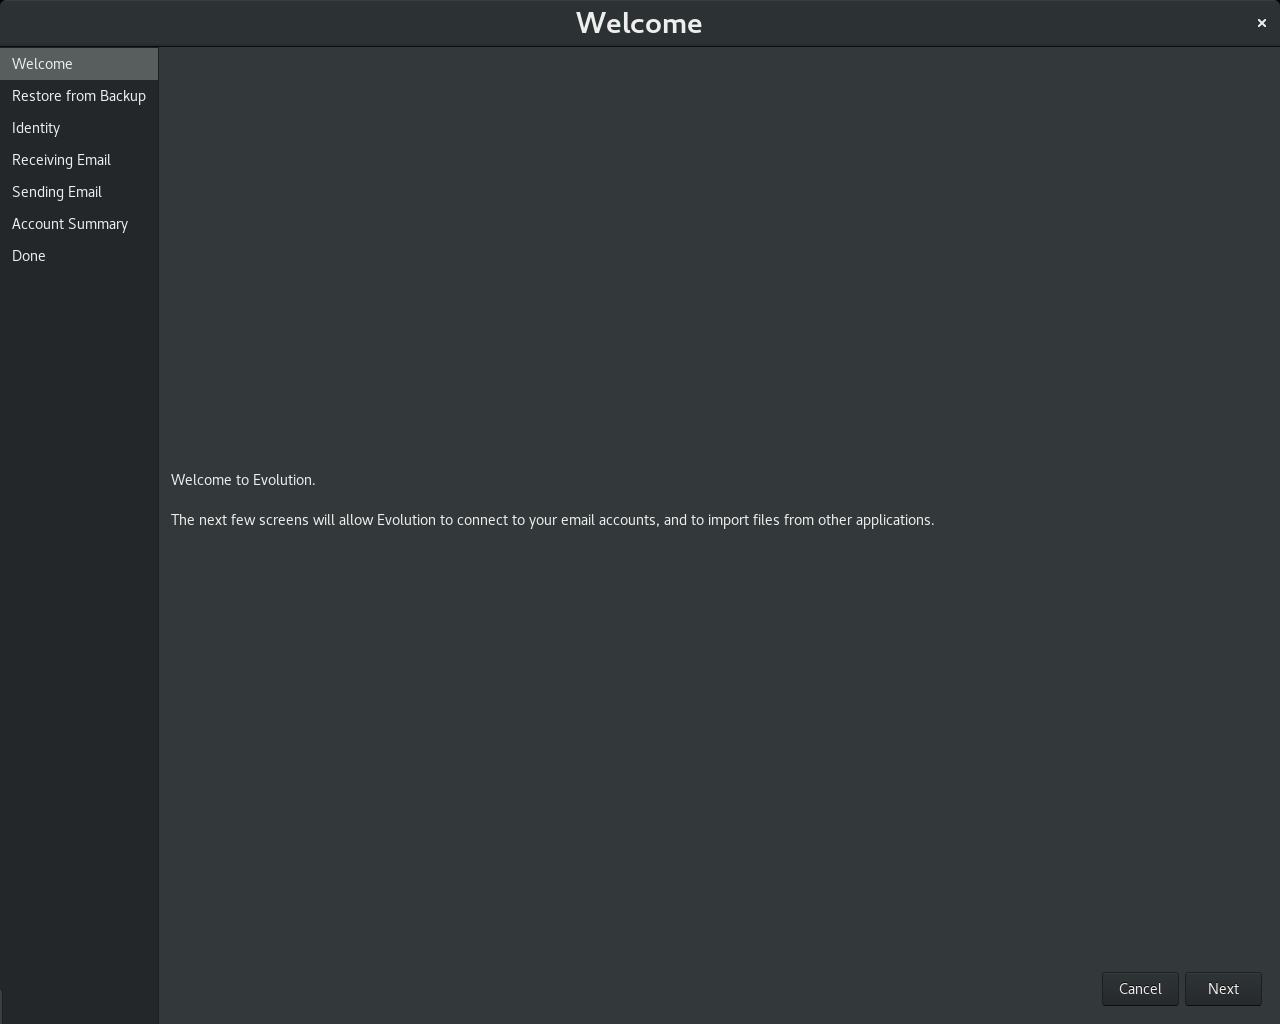
To add a new account to an existing Evolution installation, select the File > New > Mail Account option. If you’re starting Evolution for the first time, it will automatically display the new account setup prompt.
Step Two
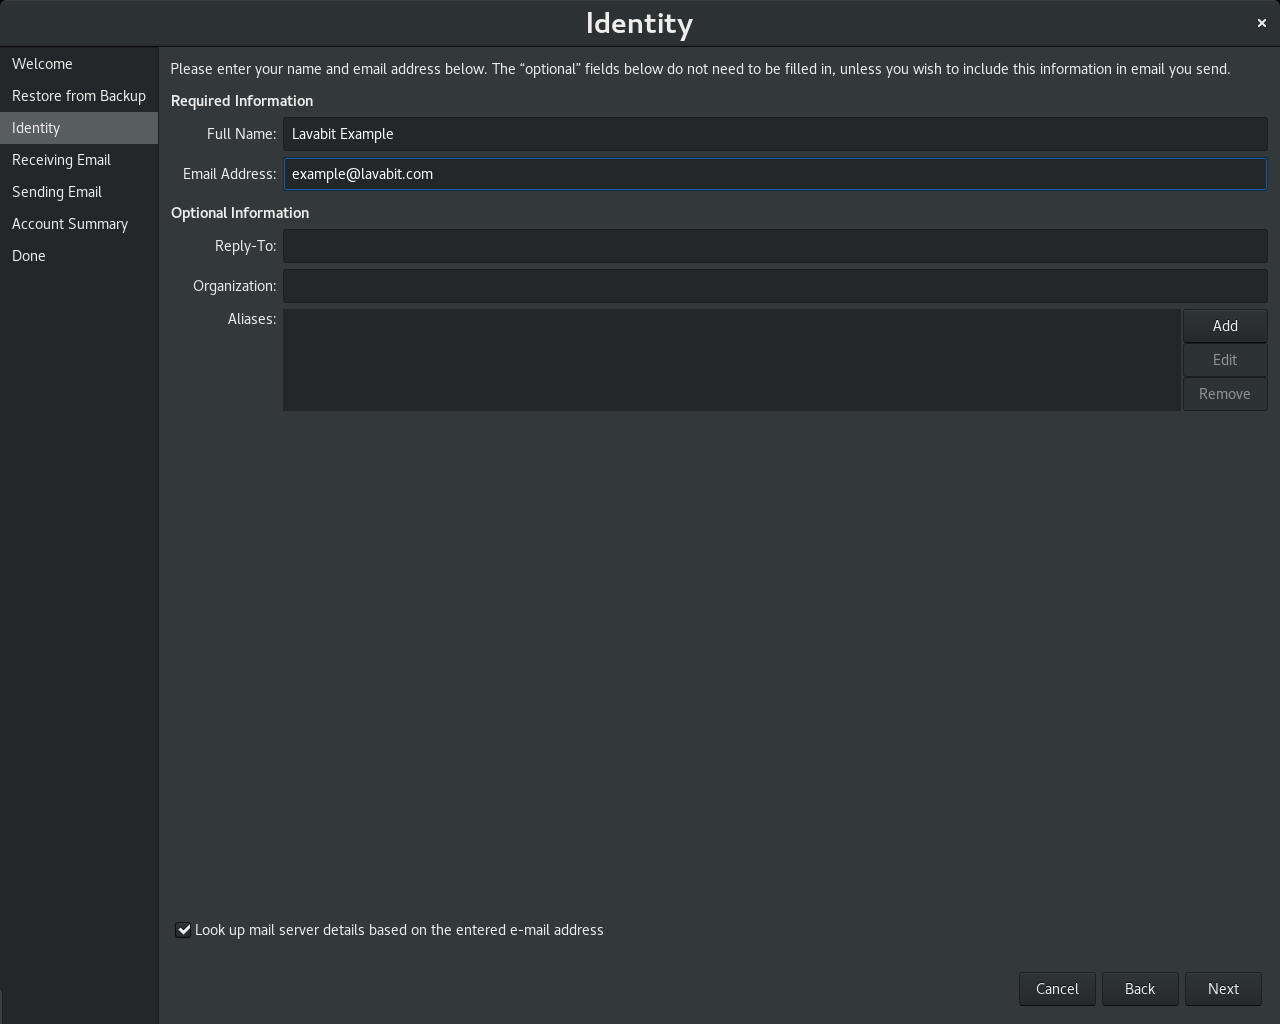
Click Next through the Welcome and Restore From Backup steps to the Identity step. In the Full Name field, enter the name you would like to have displayed to your recipients. You will most likely use your full name but you are free to enter anything you wish such as your company name or a short description of the account if it serves a special purpose.
Enter your Lavabit email address in the Email Address field.
Step Three
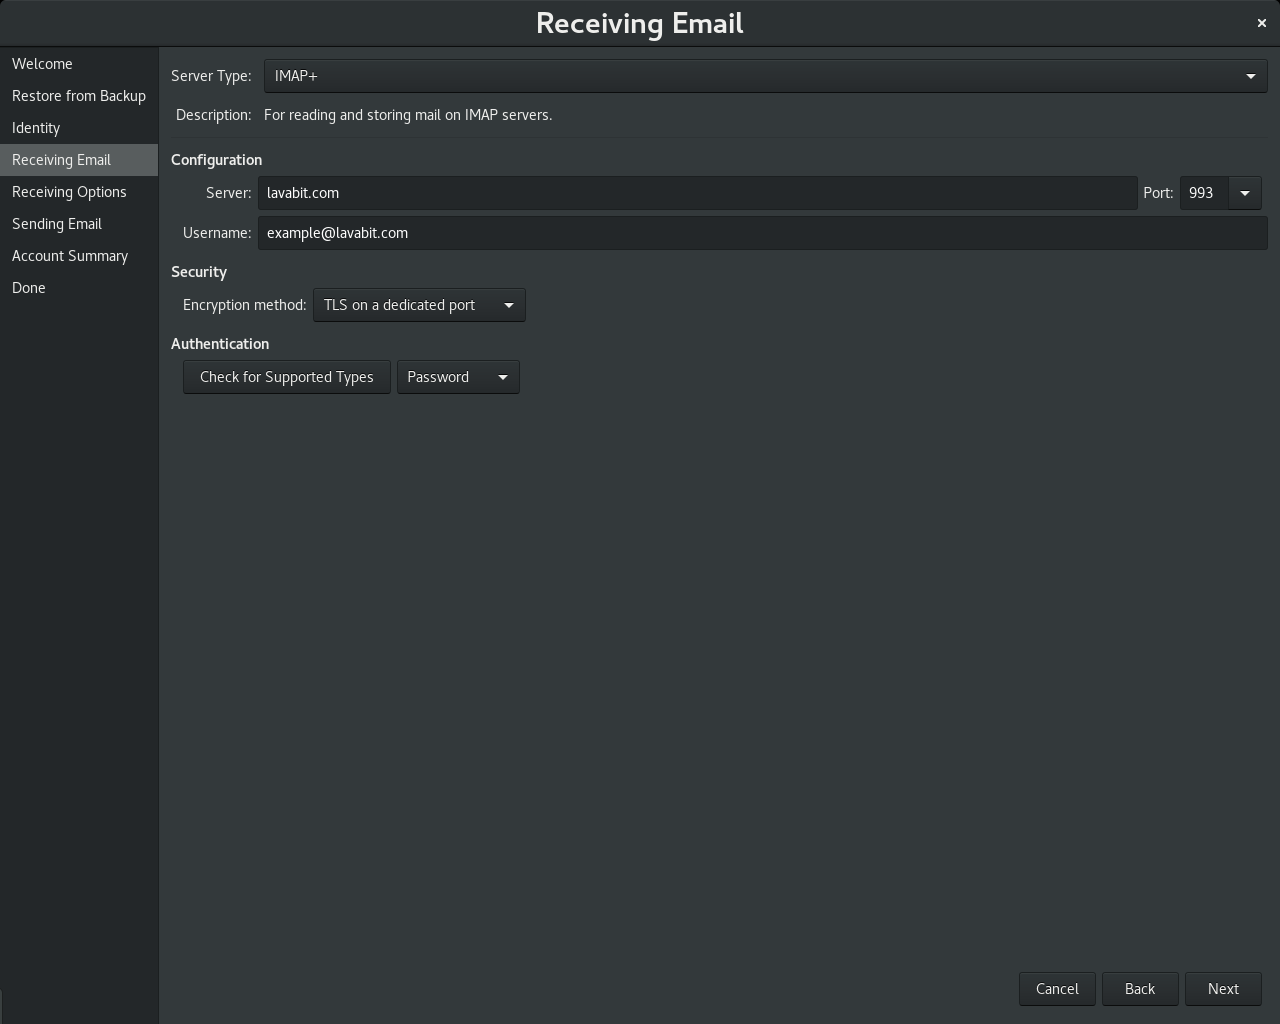
Click Next and on the Receiving Email step choose between POP3 and IMAP for incoming mail. Then choose either STARTTLS or SSL (both offer the same security), and let Evolution select the default port for you.
Step Four
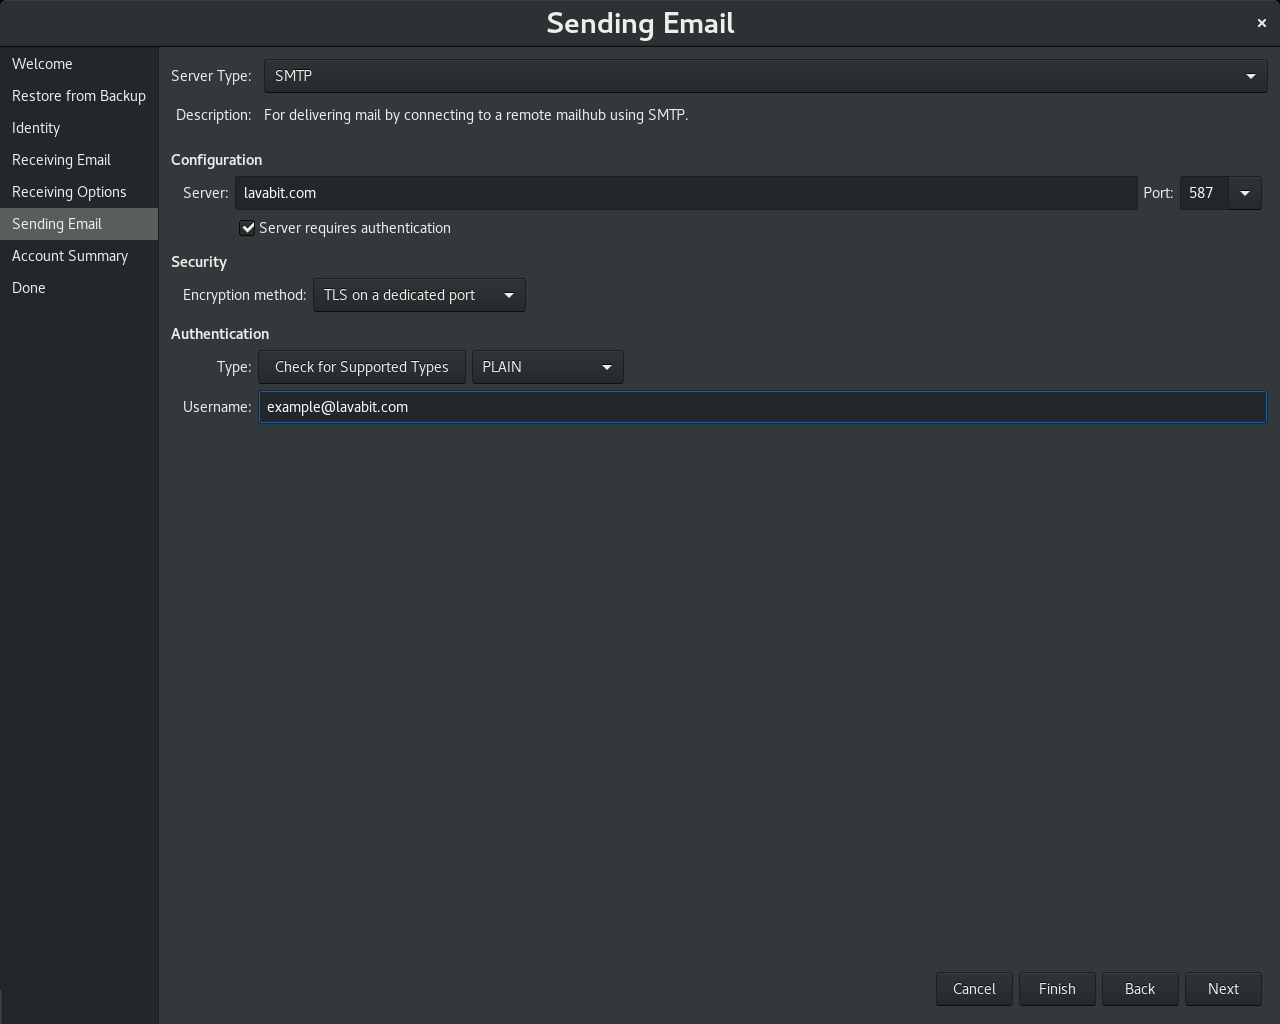
Click Next to reach a step where you can choose receiving options. The defaults are fine. Then click Next again to reach the Sending Email step. Make sure to check Server requires authentication and enter your Lavabit password below. You can choose either PLAIN or LOGIN for your authentication type.
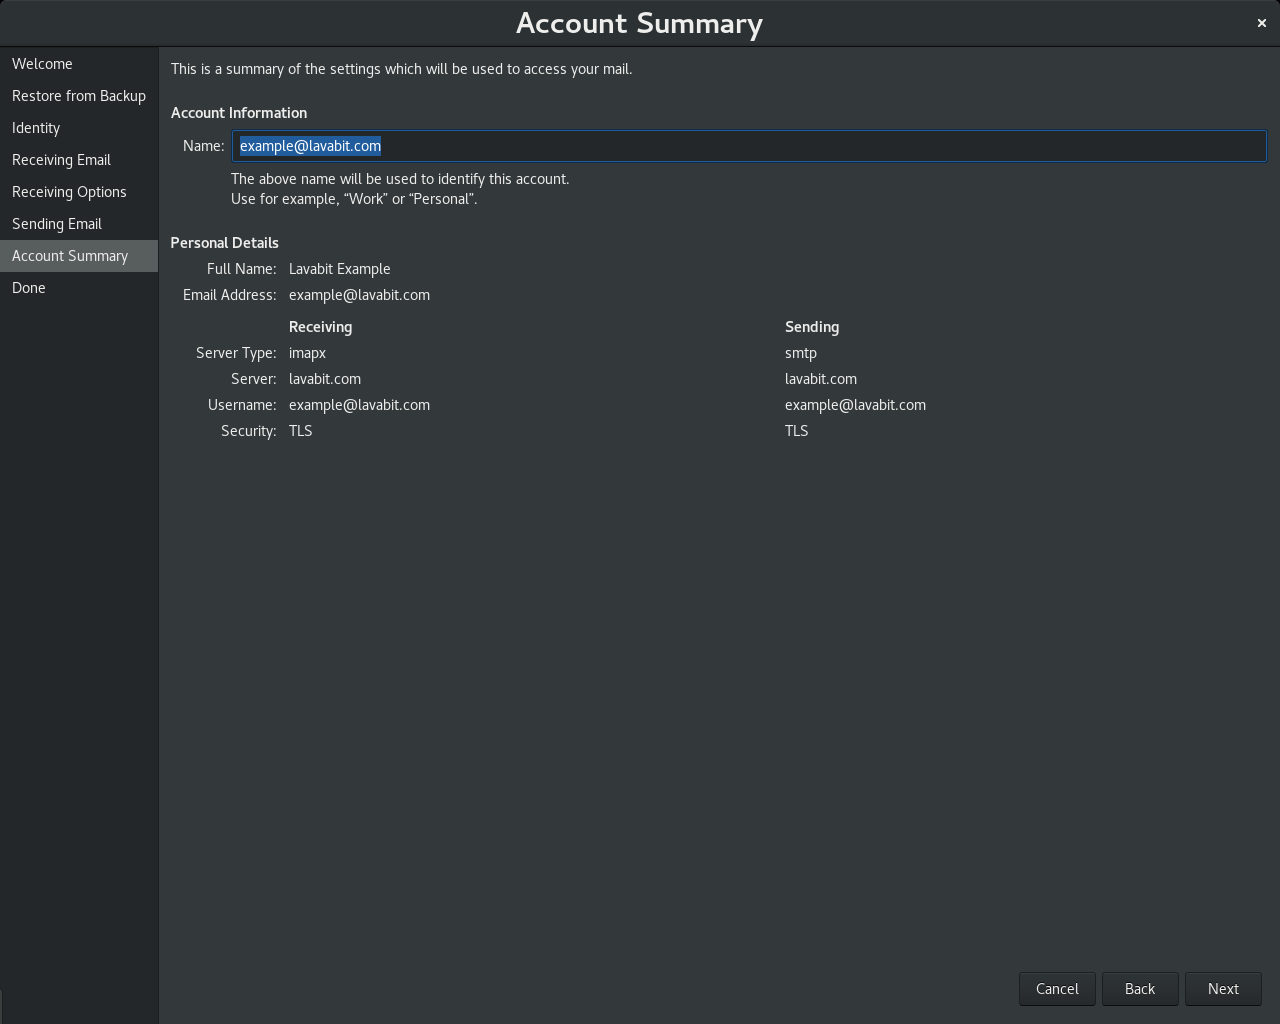
Step Five
Click Next and enter your Lavabit email address into the Name field. Finally, click Next again and click Apply. You may be prompted again for your Lavabit credentials.
Step Six
After Evolution syncs with the mail server, you should see a message from the Lavabit Support Team in your Inbox. You can also try sending an e-mail to make sure your outgoing mail works as well.

For most users, this is the happy ending to the story. If you hit a snag, please email us at support@lavabit.com.