Mailpile Tutorial
Mailpile Tutorial
This short tutorial will show you how to configure Mailpile for use with Lavabit.
Step One
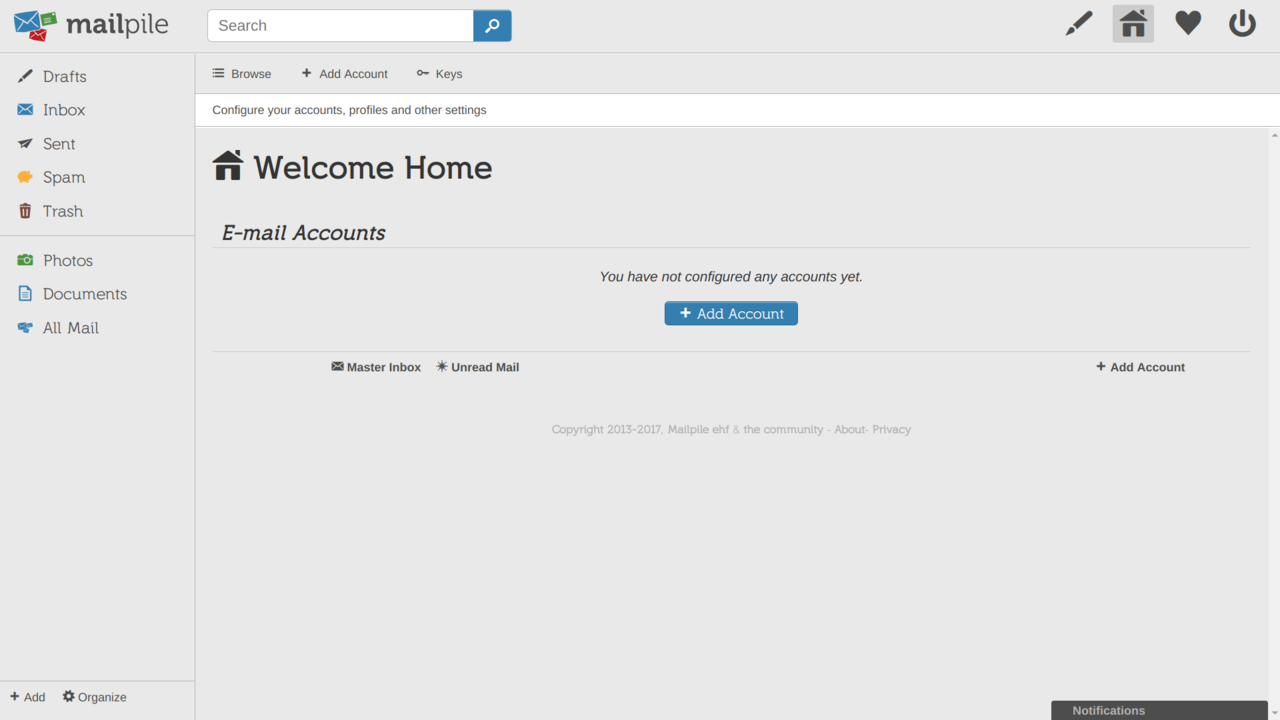
To add a new account to Mailpile, click the + Add button in the bottom left or + Add Account on the top bar of the Welcome Home page. If this is the first account you have configured with Mailpile, a + Add Account button will be displayed in the center of the Welcome Home page.
Step Two
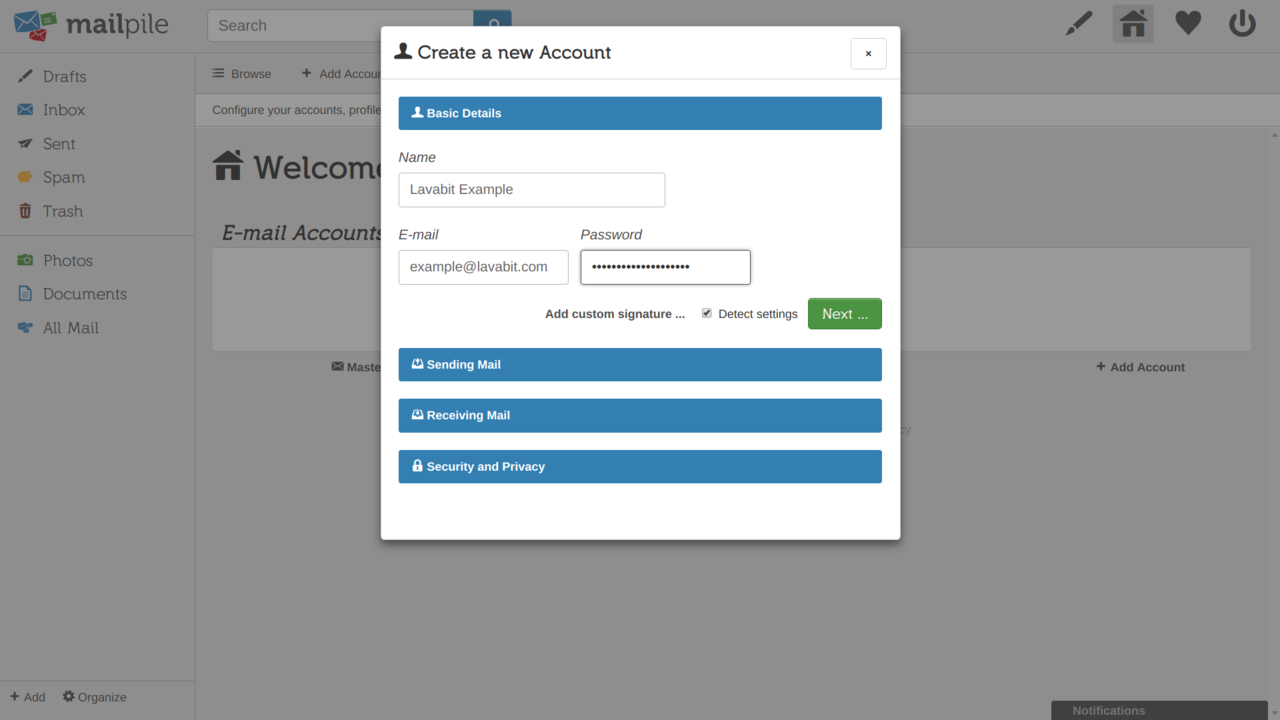
In the Create a new Account modal, first enter the name you would like to have displayed to your recipients in the Name field. You will most likely use your full name but you are free to enter anything you wish such as your company name or a short description of the account if it serves a special purpose.
Enter your Lavabit email address and password in the E-mail and Password fields, then click Next.
Step Three
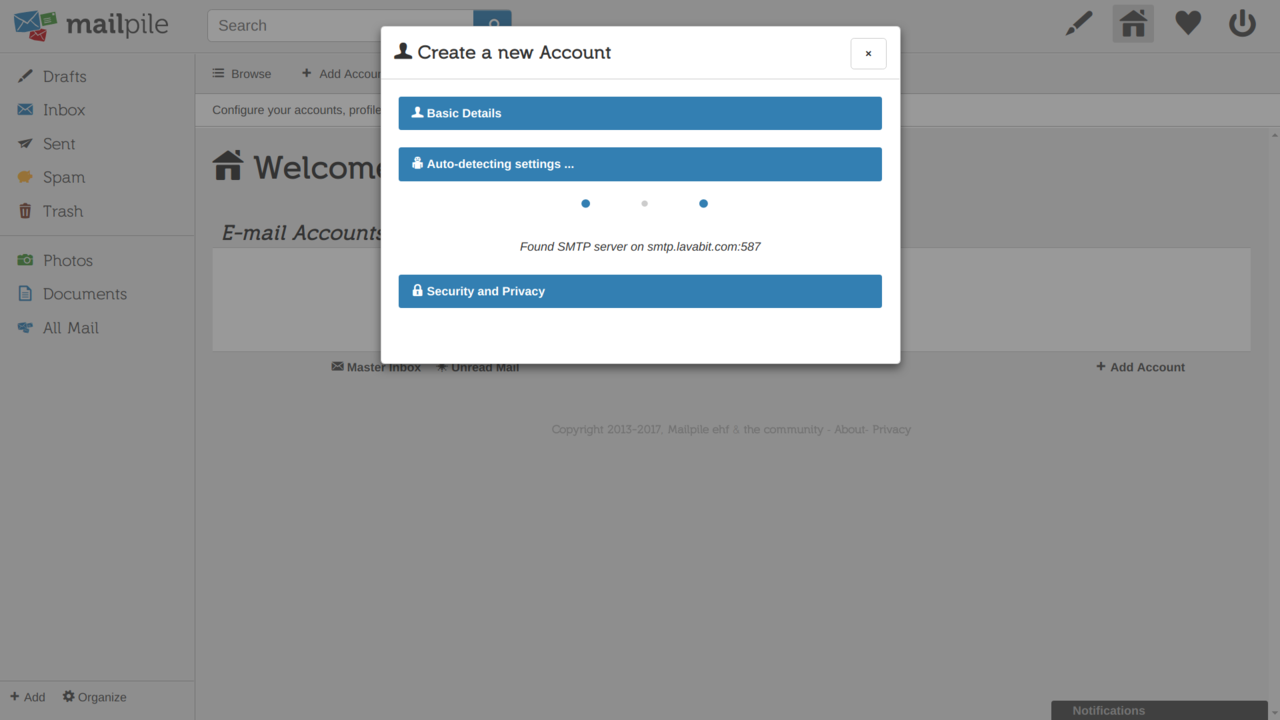
Let Mailpile autodetect the settings for you then fill out the Mailpile security settings as you wish. Finally, click + Add at the bottom.
Step Four
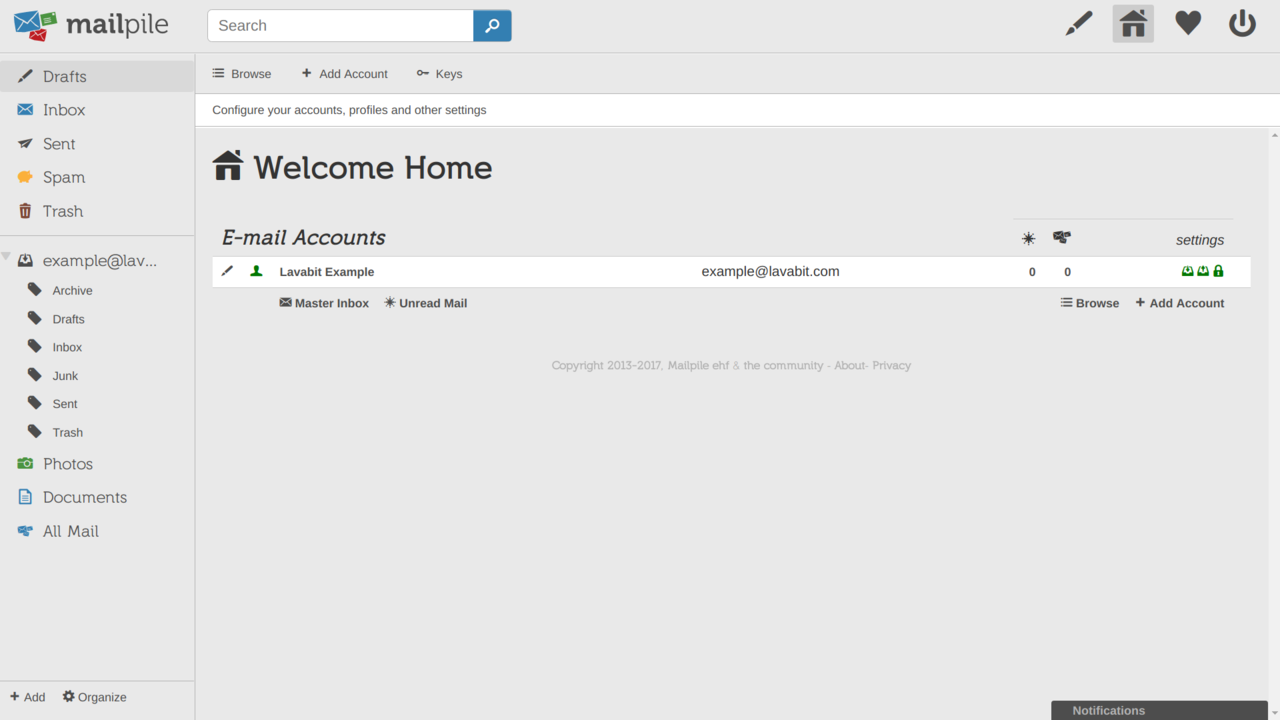
After Mailpile syncs with the mail server, you should see a message from the Lavabit Support Team in your Inbox. You can also try sending an e-mail to make sure your outgoing mail works as well.
 For most users, this is the happy ending to the story. If you hit a snag, please email us at
support@lavabit.com.
For most users, this is the happy ending to the story. If you hit a snag, please email us at
support@lavabit.com.